
How to Create a Virtual Invitation?
Create, customize, and share your free virtual invitation with your loved ones in just a few minutes with FotoChest.
Create your digital invitation, share instantly.
Thanks to FotoChest's virtual invitation feature, you can create digital invitations for weddings, engagements, henna nights, birthdays, and all kinds of special days. Prepare a completely customized invitation with theme selection, location info, and personal texts. And it's free!
Theme Selection
Choose the one that best suits your event from among the elegant themes.
Location Info
Add your organization location to the invitation with Google Maps integration.
Easy Sharing
Share the invitation you created with a single click via WhatsApp, social media, or a link.
Ability to Edit
Update your invitation and make changes at any time.
Create Free Invitation
After logging into your FotoChest account, on your Home Page, in the invitations section you will see the "Create Free Invitation" button. Click this button to open the invitation creation form.
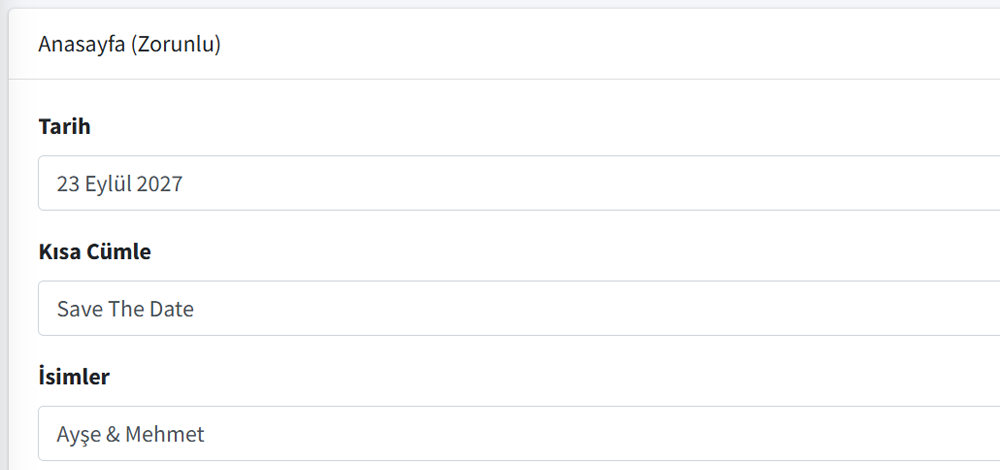
Invitation Cover Info
In the invitation creation form, first fill in the Cover section. This section is the cover page of your invitation and will be the first area your guests see.
- Date: Write your organization date (e.g., September 23, 2025)
- Short Sentence: Invitation title (e.g., Save The Date)
- Names: Enter the names (e.g., Ayse & Mehmet)
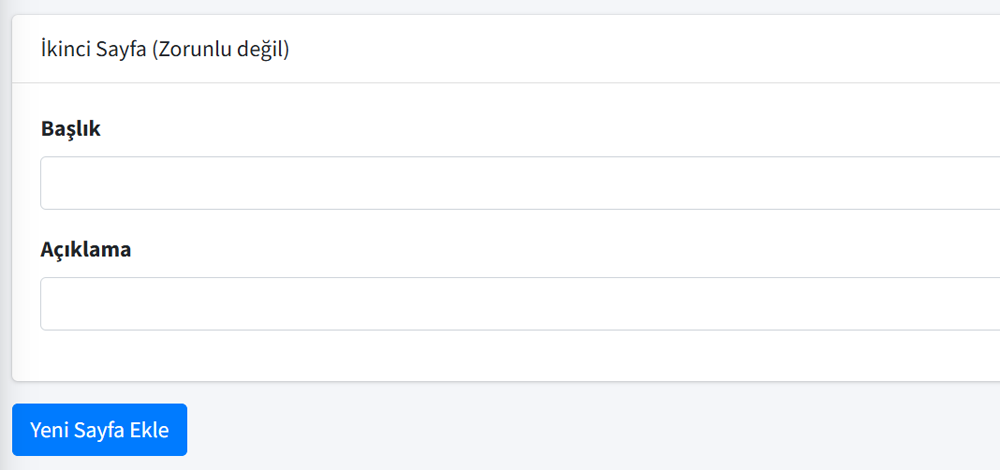
Add Extra Pages to Your Invitation
If you want, you can add 2 more extra pages to your invitation. You can open extra pages by clicking the "Add New Page" button. You can enter a Title and Description for each extra page.
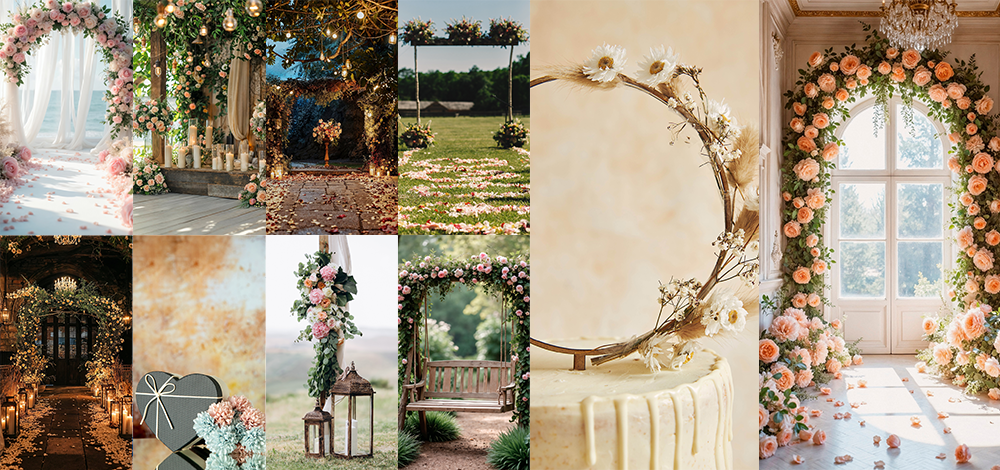
Choose a Theme for Your Invitation
Determine the background theme of your invitation. Choose the one that best suits the spirit of your organization from among the elegant and stylish themes. The theme selection will be applied to all pages of your invitation.
You can make your selection by clicking on the theme thumbnails. The selected theme will be highlighted with a blue border.
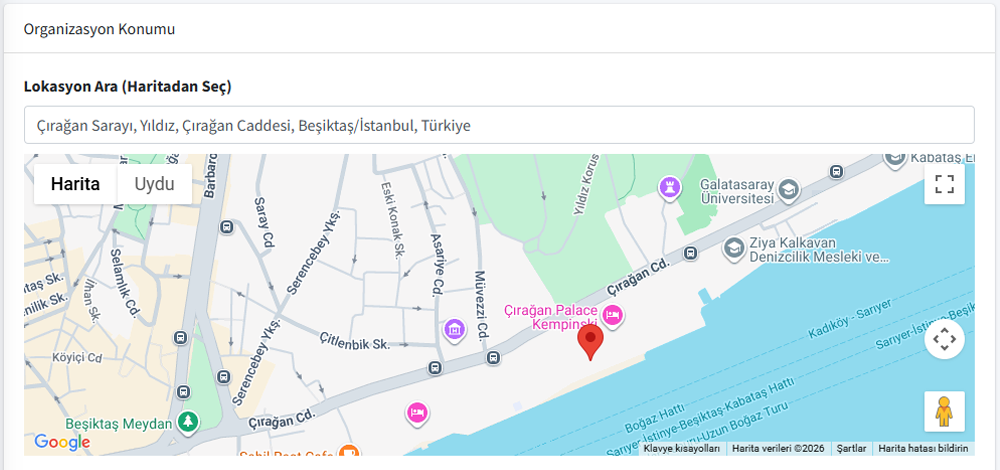
Determine Location on Map
Easily determine your organization location thanks to Google Maps integration. Type the name or address of the venue in the address search box, and select the correct location from the suggestions that open.
The location you select will be marked on the map and shown to your guests in your invitation. Thus, your guests can easily find the venue.
Manage Your Invitation
After your invitation is created, it will appear in the "My Invitations" section of your Home Page. You can perform three different actions from here:
- View: See the final version of your invitation with full screen preview
- Edit: Change text, theme, or location details
- Share: Share the invitation link via WhatsApp, social media, or copy directly
Create Your Free Invitation Now!
Create your own virtual invitation in a few minutes and share it with your loved ones. And it is completely free!
Start Now